 upfix.com
 888-979-9343
How to Remove the Center Console in a Toyota 4Runner

Last updated:

Why the console is the gateway to half your 4Runner projects
If you drive a Toyota 4Runner (5th gen, 2010–2024), pulling the center console unlocks a lot of jobs: cleaning up rattles, adding accessories, routing wiring—and, importantly, accessing the SRS (airbag) control module if your airbag light is on after a collision. The good news: you don’t need a shop full of tools or a degree in “mystery clips.” You just need a calm, step-by-step approach and a few basics—trim tools, a Phillips screwdriver, and a 10 mm socket. This guide mirrors the process shown in the MyAirbags video, translating each move into clear steps you can follow the first time without cracking panels or stretching harnesses.
Before you start, set yourself up to win: park on level ground, disconnect the negative battery terminal (especially if you’ll be anywhere near SRS wiring), lay down towels to protect the console and shifter area, and keep labeled bags for screws and clips. The 4Runner uses a mix of push-clips, two Phillips screws, and several 10 mm bolts—all easy to track if you label by step. Photograph each layer as you go so reassembly feels like tracing your own breadcrumbs, not solving a puzzle.
Airbag light on after a crash? Start a MyAirbags SRS Module Reset order (keep your original module & coding).
Tools & prep
-
Plastic trim/pry tool set
-
Phillips screwdriver
-
10 mm socket, small ratchet (plus a short extension helps)
-
Painter’s tape (mark panel edges, protect surfaces)
-
Labeled bags/containers for hardware
-
Battery disconnected (negative terminal) if you’ll be near SRS wiring or the modul
Step-by-step removal
1) Pop the small side panels (passenger & driver footwells).
Grab the little plastic panel on the passenger side with a firm grip at the top or bottom edge and pull straight out. It’s held by 3 clips up top and 2 at the bottom. Repeat on the driver side.
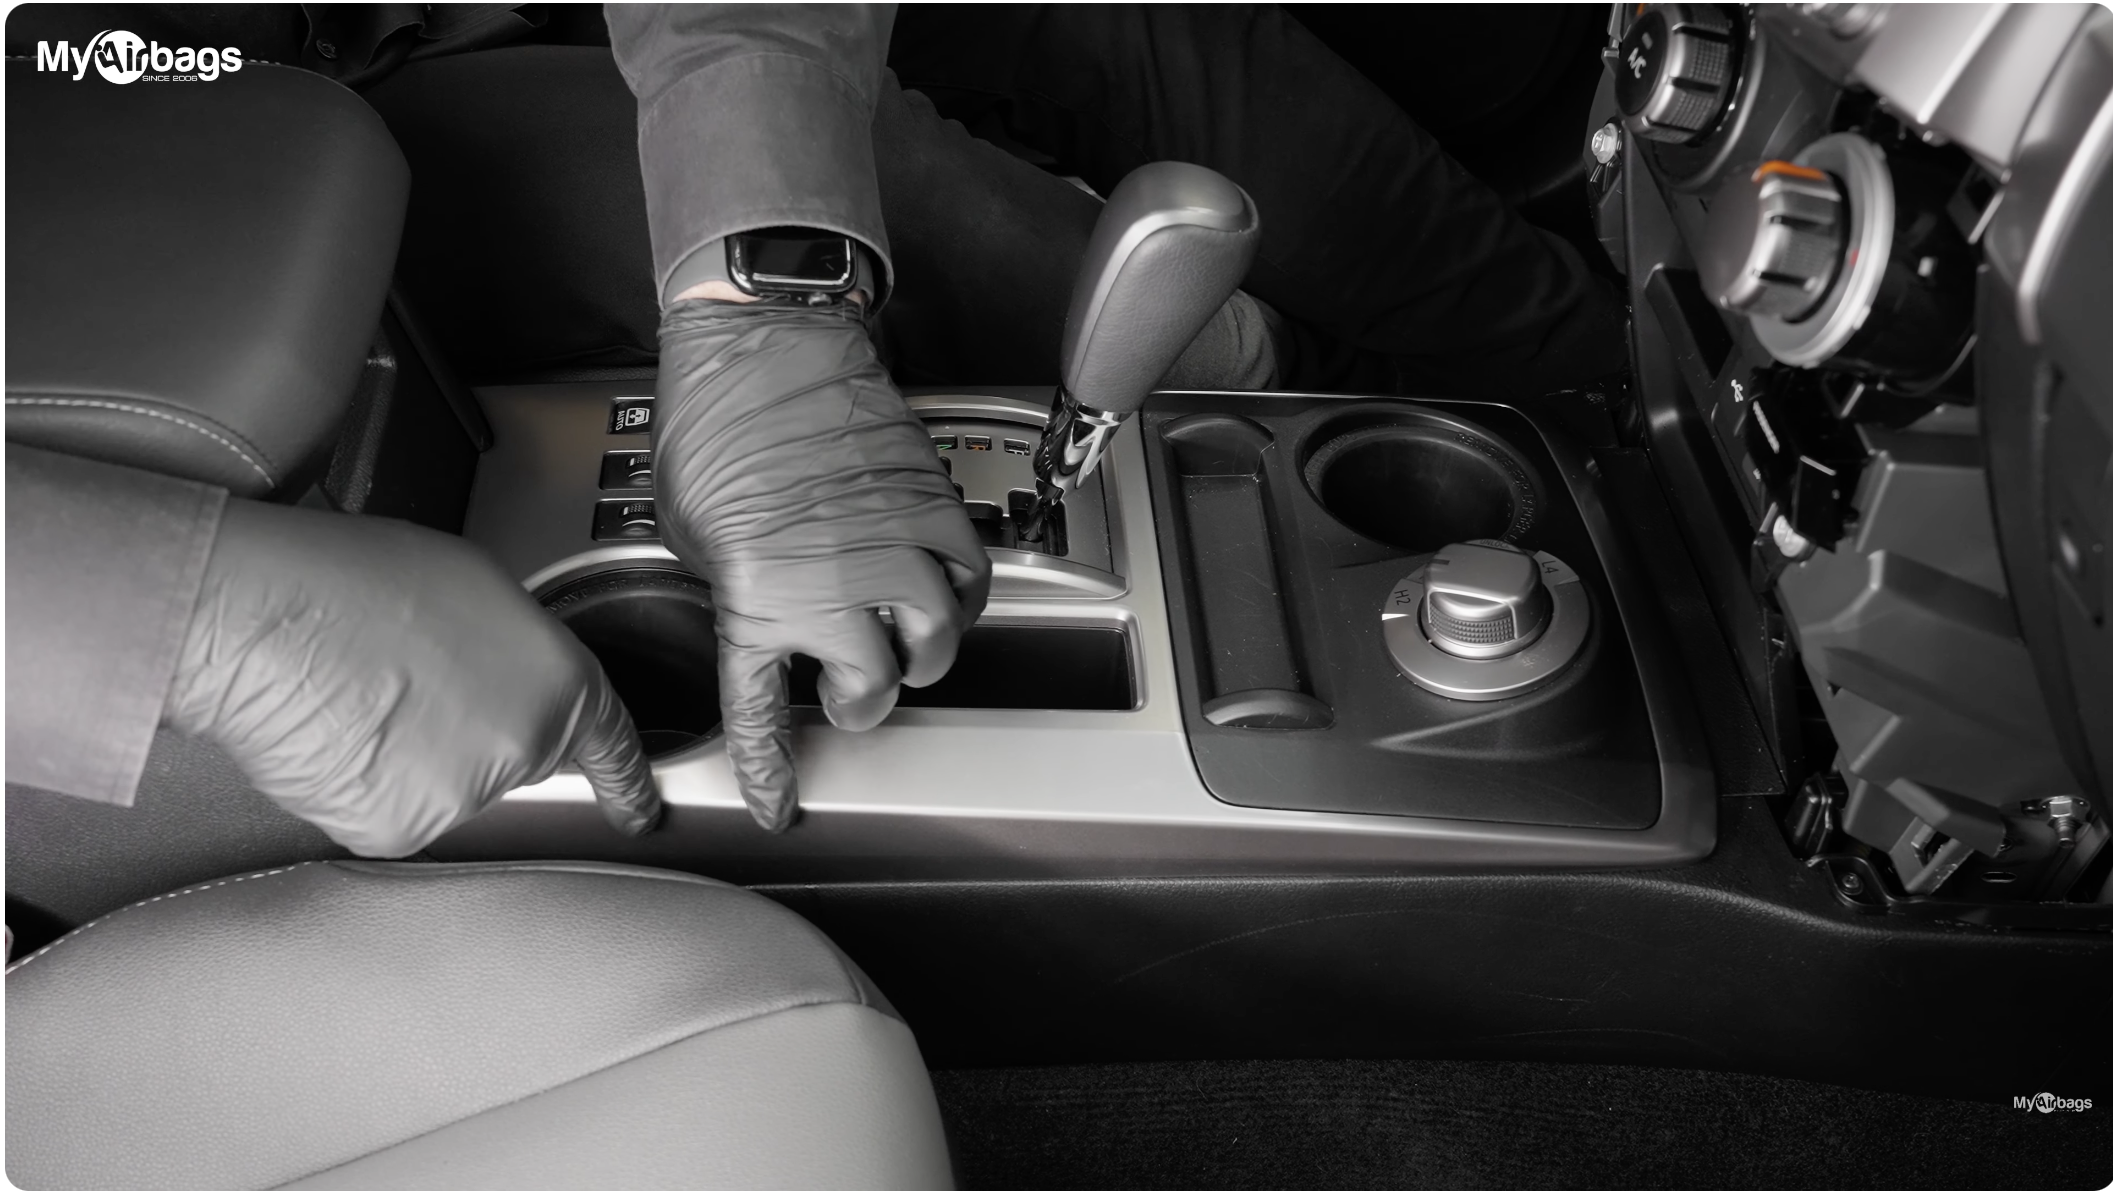
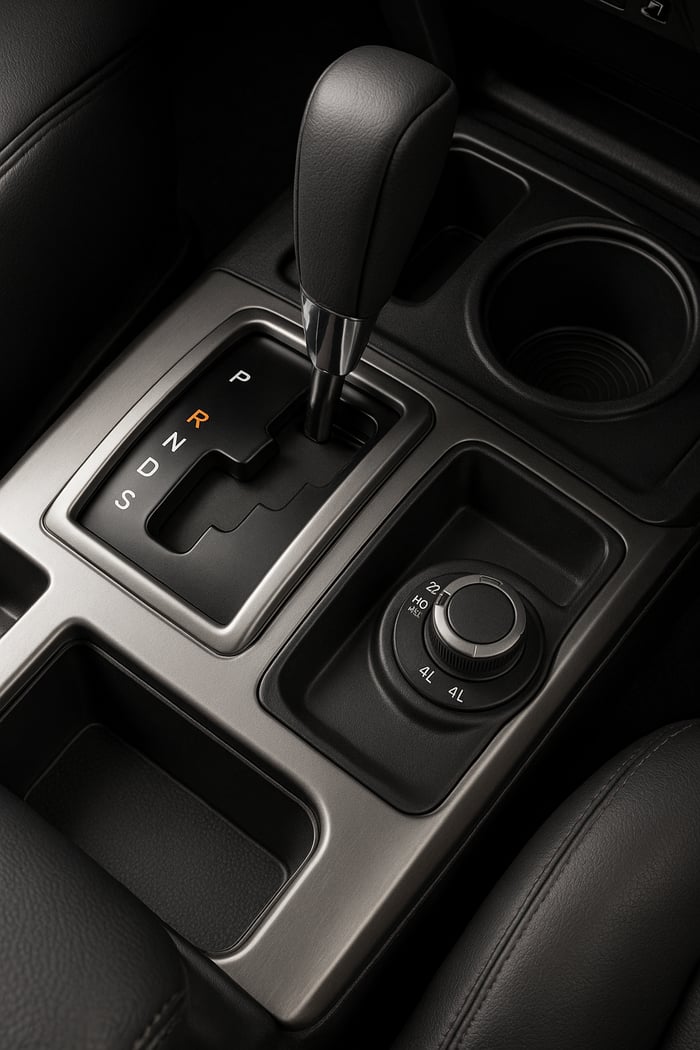
2) Lift the center top console trim.
The trim that surrounds the shifter/cupholders releases like the side panels: grab firmly at the sides, lift one side, then the other. Don’t yank—there are electrical connectors underneath.
3) Unplug the connectors you exposed.
Press the locking tab (“little button”) on each plug and pull straight out. There are a few, so go one by one to avoid stressing the harness.
4) Remove the two upper Phillips screws.
At the front/top of the console you’ll see two Phillips screws—one on each side. Remove both. There’s also a small plastic piece just above them that slides out; set it aside.
5) Remove the front 10 mm bolts.
Behind that trim are two 10 mm bolts—one per side. Remove them.
6) Unplug the shifter-area connectors.
Right behind the shifter are two more plugs. Press the tabs and pull out. There’s one additional plug lower down—disconnect that as well.
7) Expose the rear bolts under the armrest.
Lift the armrest panel (the piece directly under the lid). Underneath you’ll see two more 10 mm bolts. Remove both.
8) Pop the small lower footwell panels (again).
Down near each footwell there’s another small panel—pull gently to release its single clip. Do this on both sides; it frees the lower edges so the console can lift cleanly.
9) Lift out the entire console.
Place one hand at the back and one at the front of the console body. Lift from the back first, then guide it outwardand up. Watch for any connectors you missed; if it hangs, stop and look—don’t force it
Console off, module out, light gone
A 2018 4Runner arrived with an airbag light after a parking-lot tap. Following the exact steps above (battery disconnected), the console came off in minutes. The shop pulled the SRS control module, shipped it to MyAirbags for a crash-data reset, and reinstalled it on return. The first scan after reassembly showed a clear system; no dealer reprogramming, no hunting for a matching replacement.
See “How It Works” (packing, labels, tracking) and ship your parts with confidence.
Common snags (and how to avoid them)
-
Trim won’t budge: Work from multiple edges with a plastic tool; lift straight—twisting breaks tabs.
-
Connectors stuck: Press the locking tab fully before pulling; a small pick helps—but don’t pry on wires.
-
Lost screw syndrome: Bag and label hardware as you remove it (e.g., “Step 5—front 10 mm”).
-
Harness tension on reassembly: Route wires exactly as before; a misrouted harness causes rattles or chafing later.
-
SRS proximity: If you’re anywhere near orange/yellow connectors, keep the battery disconnected until everything is bolted back together.
Reinstallation checklist (reverse, but smarter)
-
Set the console straight down on the tunnel—no pinching of harnesses.
-
Reconnect every plug (listen/feel for the “click”).
-
Install bolts in this order: rear 10 mm under armrest → front 10 mm → two Phillips.
-
Snap the top trim in, then the side panels (footwells).
-
Reconnect the battery, run a quick function check (USB/12 V/switches), and if you serviced SRS parts, scan/clear codes.
Why MyAirbags (when console removal is part of an SRS fix)
-
Airbag Module Reset: Clears crash data on your original unit—no recoding hassles, faster turnaround than replacement.
-
Seat Belt Pretensioner & Webbing Repair: If your belts locked during the event, add them to the same shipment; OEM-grade parts, tested before return.
-
Repair-and-return simplicity: Order online, ship, track, reinstall. It’s the clean, predictable way to resolve post-collision faults without replacing half the truck.
Clean console pull for add-ons (no broken clips)
A 2021 owner needed under-console access to add a radio power lead and a second USB hub. With labeled bags and patience around the top trim, the console lifted in one piece, all five plug connections were handled carefully, and reassembly was rattle-free. The owner photographed each step, which made the reverse process a 15-minute job.
FAQs
Which years does this cover?
This workflow matches the 5th-gen 4Runner (2010–2024). Trims vary, but clip/bolt locations and the overall sequence are very similar.
Do I have to disconnect the battery if I’m not touching SRS?
Strongly recommended. You’ll unplug multiple console connectors; powering down prevents accidental shorts—and it’s required if you’ll access the SRS module.
Where is the airbag control module?
On many 4Runners it’s under the console/tunnel area. Removing the console is the clean way to reach it.
Do I need to recalibrate anything after console removal?
Not for the console itself. If you serviced SRS parts, scan and clear codes after reinstall.
Do it once—cleanly—and button it up like factory
Console removal on a 4Runner is a classic “slow is fast” job: a steady pull on the small side panels, a patient lift of the top trim, a few well-placed screws and 10 mm bolts, and tidy connector work. When you label hardware and photograph each layer, reassembly is a breeze—and your console goes back together solid, without squeaks or gaps. If your reason for digging in is an airbag light, the most efficient path is to repair what you have: send your SRS module (and any locked pretensioners) to MyAirbags, follow the straightforward shipping guide, and reinstall a bench-validated unit that keeps your factory coding and fit. That’s the difference between hoping it works and knowing it will—with your 4Runner ready for the next trip, not the next teardown.
Ready to finish strong? Start your SRS Module Reset or Seat Belt Repair with MyAirbags.