
 upfix.com
 888-979-9343
Introduction
When your gauges freeze, flicker, or the cluster goes dark, driving becomes stressful—and sometimes unsafe. At UpFix, we specialize in repairing your original instrument cluster so it goes back in your vehicle plug‑and‑play. That means your vehicle-specific coding stays intact and you avoid the headaches of VIN reprogramming that often comes with used or remanufactured units. From Infiniti clusters with pixel/backlight failures to Ford Mustang clusters with seized stepper motors, our bench, board-level approach restores function and reliability without the dealership backorder drama or four‑figure replacement costs you might be seeing elsewhere. Quick Win: Tell us your year, make, and model
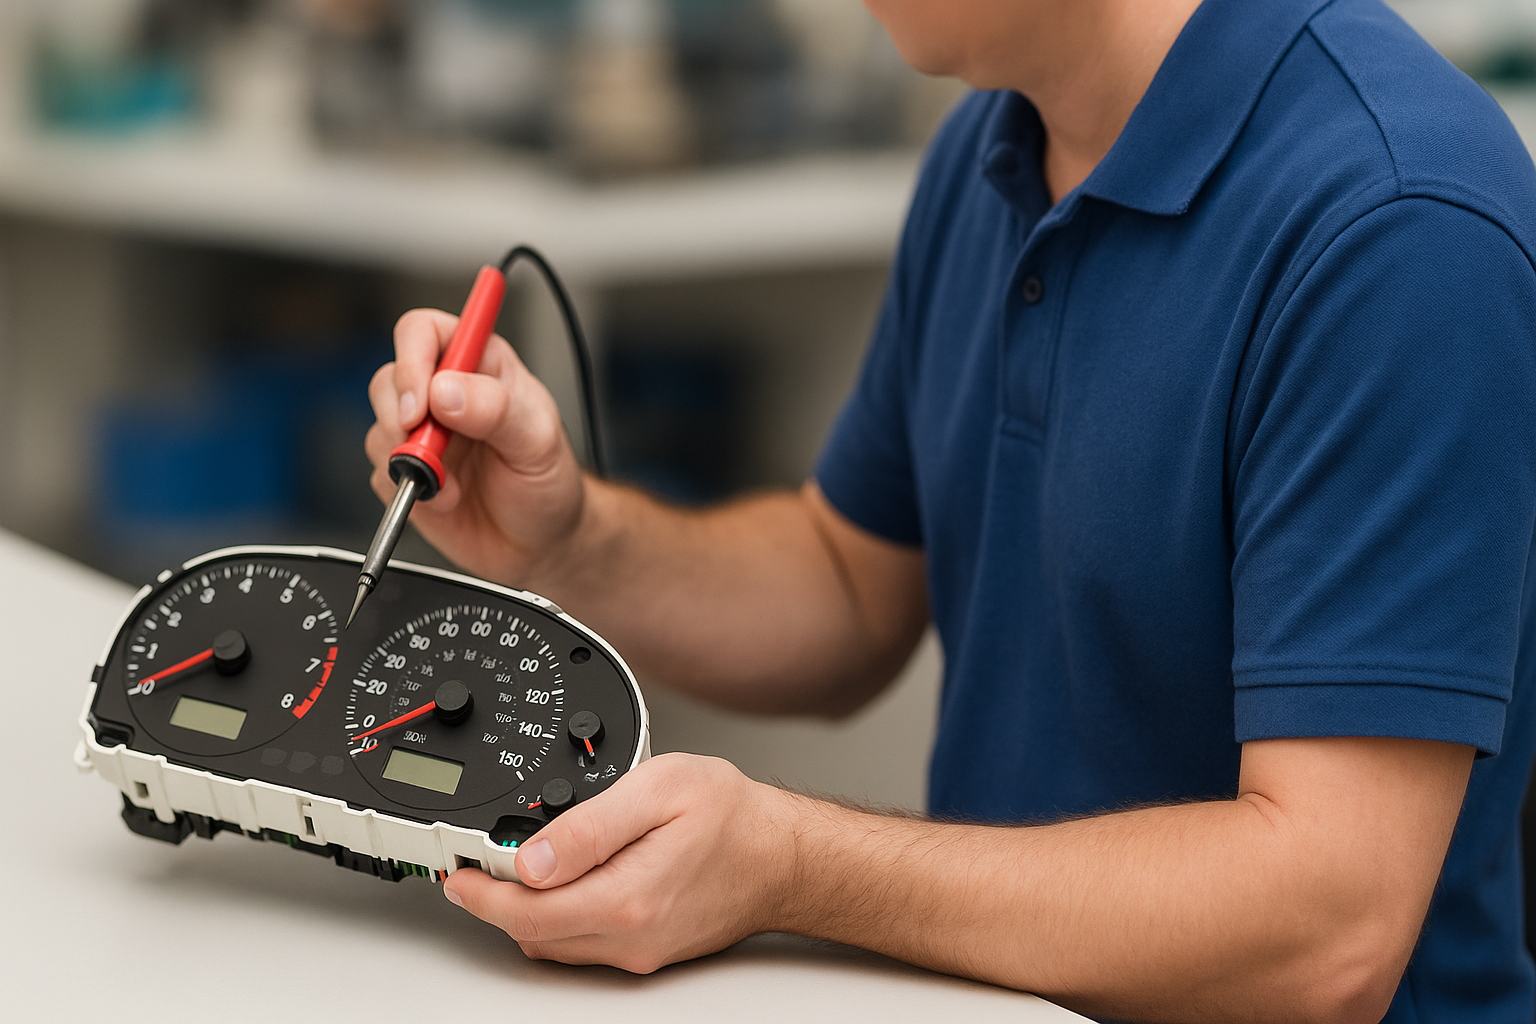
Our Process (What Happens at UpFix)
1) Intake & Functional Check
We power up and perform a full functional test, noting symptoms like flickering LEDs, missing pixels, stuck or inaccurate gauges, intermittent power loss, or battery drain (all issues we commonly see).
2) Guided Diagnostics (When Applicable)
If your vehicle supports it, we access the cluster’s built‑in engineering test mode to run gauge sweeps, illuminate all diagnostic lights, and verify LCD health. This helps separate a true cluster fault from wiring/sensor problems.
3) Careful Disassembly
We open the unit without damaging lenses, tabs, or needle shafts—techniques vary by model. (For example, many clusters have top/bottom tabs and lenses that release cleanly when handled correctly.)
4) Board‑Level Evaluation
We inspect for cold solder joints, failing surface‑mount LEDs, and compromised components. We test stepper motors(the tiny motors that move each needle) for noise, seizure, or inaccurate return‑to‑zero.
5) Precision Repairs
-
Stepper motor replacement where needed (proper orientation, flush seating to the PCB, clean soldering).
-
LED/backlighting restoration and pixel fixes (including failed indicators and dim/uneven illumination).
-
Solder rework on suspect joints that cause intermittent power and backlight issues.
6) Calibration & Self‑Test
We power the cluster, calibrate needles at true zero, and run gauge sweep tests. After repair, the cluster should sweep smoothly and return precisely to zero (no fluttering, pegging, or sticking).
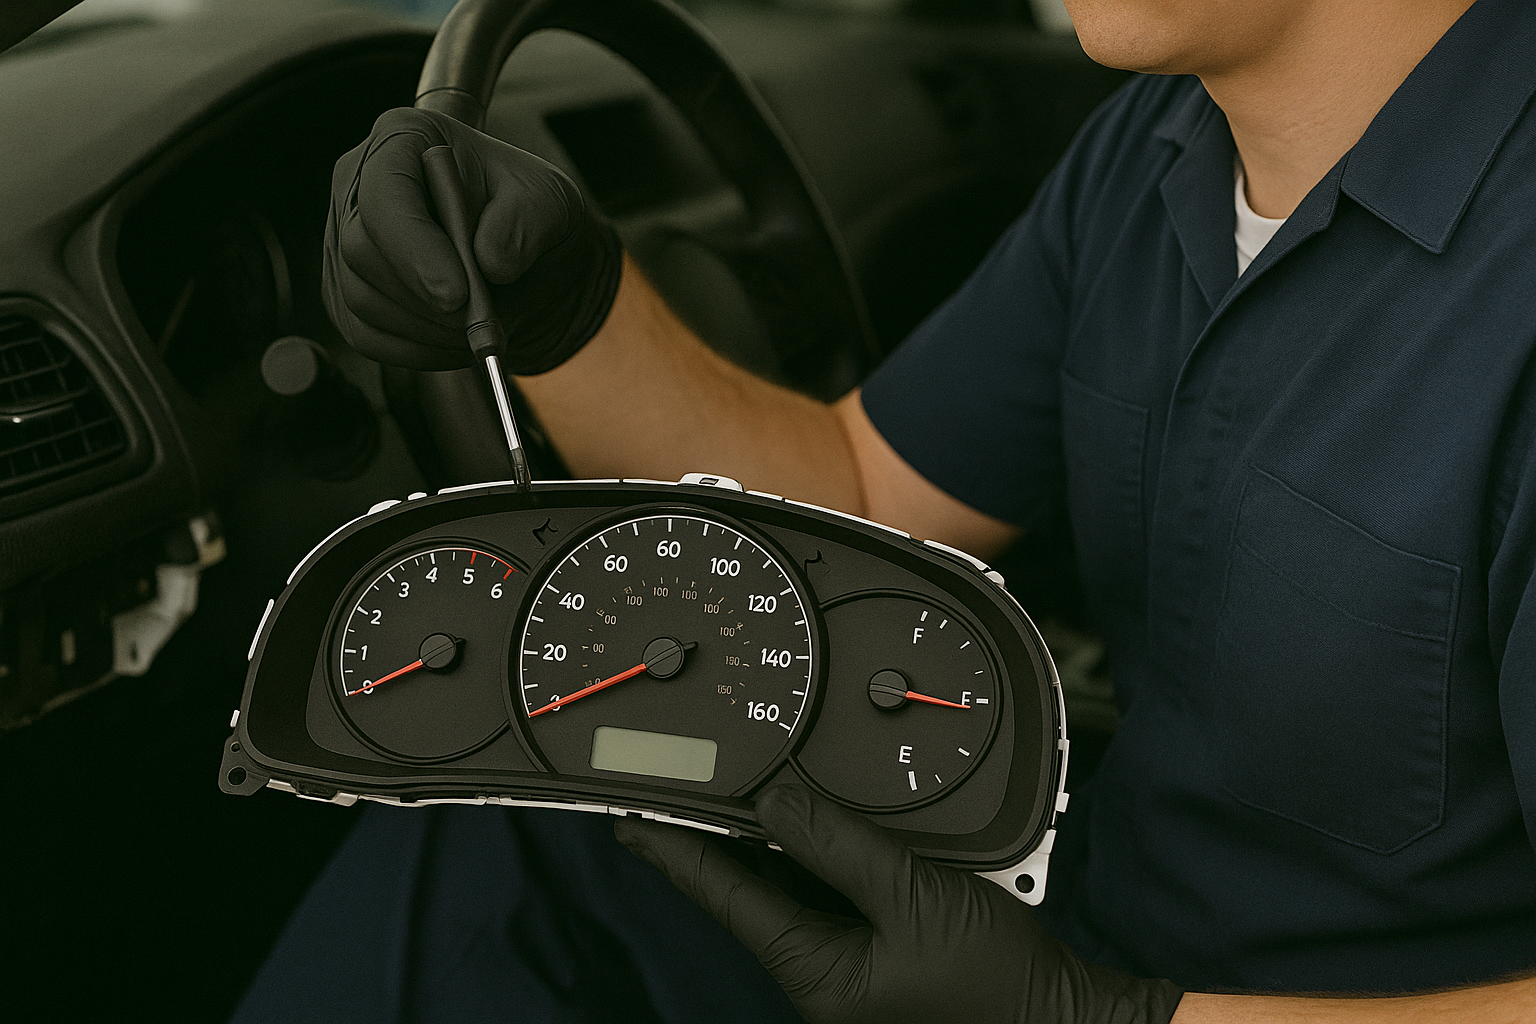
7) Final QC & Return
We verify all telltales/indicators, backlights, and LCD blocks. The unit is reassembled, cleaned, and returned to you ready to install—your original part, your original coding, plug‑and‑play.
Ready to ship your cluster? Get the Pack & Ship Instructions
Case Study 1: Infiniti QX56
Symptoms (Before):
-
Amber cluster lighting with flickering/missing LED indicators (commonly the battery indicator).
-
Bottom LCD with backlighting that cuts in/out and pixelation.
-
Fuel and tach gauges failing to sweep properly; stuck, fluttering, or not returning to zero.
-
Intermittent power loss and even battery drain complaints.
In‑Vehicle Self‑Test:
Hold the trip button, turn the ignition to accessory (stage two) (do not start), then cycle the menu to run bulb/indicatortests and gauge sweeps. This quickly reveals failing indicators and out‑of‑calibration gauges.
Repairs (After):
-
Corrected cold solder joints and replaced bad SMD LEDs to stabilize backlighting and indicators.
-
Restored gauges to sweep fully and return to zero.
-
Clean, consistent LCD illumination—no missing pixels, no flicker.
Result:
A fully functional cluster ready to reinstall in the SUV—no VIN programming required, because it’s your original unit
Case Study 2: Ford Mustang Saleen
Symptoms (Before):
-
All gauges stuck in random positions.
-
Audible grinding from a seized stepper motor.
Repair Highlights:
-
Safe lens removal via the upper/lower tabs; careful needle removal using trim tools and technique (apply even tension; avoid stressing the LCD).
-
Desolder and replace stepper motors (each has four pins plus a shaft; must sit perfectly flush and level or the needle will sit crooked).
-
Power up before needle install so the motors are at zero; then calibrate needles and verify sweep.
Result:
Smooth, quiet operation comparable to OEM new motors, proper sweep and zeroing, reassembled and ready to install.
DIY Diagnostic: Engineering Test Mode (Quick Guide)
Many Ford/Lincoln/Mercury (and some Dodge/Chrysler) clusters include a back‑door diagnostic you can access without a scan tool.
-
With a physical trip button: Hold TRIP, turn key to Accessory, then cycle through tests: gauge sweep, all‑lights/bulb test, LCD block test, and sometimes DTC display.
-
No trip button (e.g., Ford Escape 2008–2012): Use the RESET button on the info/setup/reset switch while powering to Accessory.
-
Steering‑wheel controls (e.g., F‑150/Explorer): Hold OK/RESET while powering to Accessory.
-
Exit: Power the vehicle off.
If gauges won’t sweep, don’t return to zero, or indicators won’t illuminate in this mode, the cluster itself is a strong suspect
Random Points You’ll Be Glad You Knew
-
On some Infiniti QX56 clusters, a slight lens tint and amber lighting are normal—but flickering indicators or missing pixels aren’t.
-
Battery light or indicator LEDs that flicker or go dark are a classic cluster‑level fault.
-
A gauge that pegs and “hits the plastic lens” or flutters is usually a circuit board or stepper motor problem.
-
Grinding noises inside a gauge typically trace back to a failing stepper motor.
-
When installing new stepper motors, they must sit fully flat on the PCB; even a small tilt will cause crooked needles.
-
Gauge orientation matters: on certain clusters, some small gauges rest at ~10‑o’clock while others are inverted—calibration respects these factory positions.
FAQs
Q: How do I know it’s the cluster and not a sensor or wiring issue?
Try the engineering test mode (gauge sweep, bulb test). If gauges fail to sweep/zero, indicators won’t illuminate, or LCD blocks don’t display, the cluster itself is likely at fault.
Q: Will I need dealer programming after an UpFix repair?
No. We repair your original unit, so it goes back in plug‑and‑play. Buying used or certain reman units can require VIN encoding—and if it’s wrong, the vehicle may not start.
Q: Do you fix backlighting and pixel problems?
Yes. We address backlight flicker, replace failed SMD LEDs, and correct LCD pixel issues.
Q: Do you replace stepper motors?
When testing confirms a faulty motor, we desolder and replace it, then calibrate and verify a clean sweep and accurate zero.
Q: Can a failing cluster cause a battery drain?
Yes—intermittent power faults and failing components in the cluster can drain the battery. We check and address these board‑level issues.
Q: What warranty do you provide?
Repairs come with a one‑year warranty and a full functional test before we ship it back.
Q: What about cost and availability versus replacement?
Remanufactured units can run hundreds to thousands of dollars and are often on backorder. Repairing your original cluster with UpFix is typically faster, more reliable, and avoids coding issues.
Still have questions? Ask the UpFix team
Why Choose UpFix
-
Keep your original part → plug‑and‑play, no VIN headaches.
-
Save big versus buying used/remanufactured units that may still be faulty.
-
Hard faults fixed at the source: stepper motors, LEDs, and solder joints—not just a cosmetic refresh.
-
Real testing: gauge sweeps, illumination checks, LCD verification, and final calibration.
-
One‑year warranty & a team that lives and breathes clusters.
-
Community & support: Find us on YouTube, Facebook, TikTok, and Instagram for tips, walk‑throughs, and repair spotlights.
What to Ship & How to Prep (Quick Checklist)
-
Send the cluster only (unless we’ve asked for more).
-
Protect the lens and needles with soft wrap; pack snugly to prevent movement.
-
Include your contact info, vehicle details (year/make/model), and a short symptom list (e.g., “fuel gauge pegged, battery light flickers, LCD dims”).
-
If you’ve run engineering test mode, note what you observed (e.g., gauge sweep failed; certain indicators didn’t light).
More Helpful Stuff
-
DIY Tip: Before removing the cluster, disconnect the negative battery terminal and use a trim tool to protect the dash.
-
Calibration Reminder: After stepper replacement, always power at zero before installing needles, then fine‑tunepositions.
-
Self‑Test First: Running the cluster’s engineering test mode can save you time by confirming the fault lives in the cluster.
Conclusion
A failing instrument cluster doesn’t need to sideline your vehicle—or your budget. UpFix repairs your original unit, solves the true board‑level problems (from stepper motors to LEDs to solder joints), verifies everything with proper calibration and self‑tests, and ships it back ready to install—backed by a one‑year warranty.
Ready to get your dash back to normal? Start your repair with UpFix today.